28
Unit E · Designing a real thing
Shapes in three directions
What we are making: your first object on screen. Nothing is printed today — today you learn to build shapes out of other shapes.
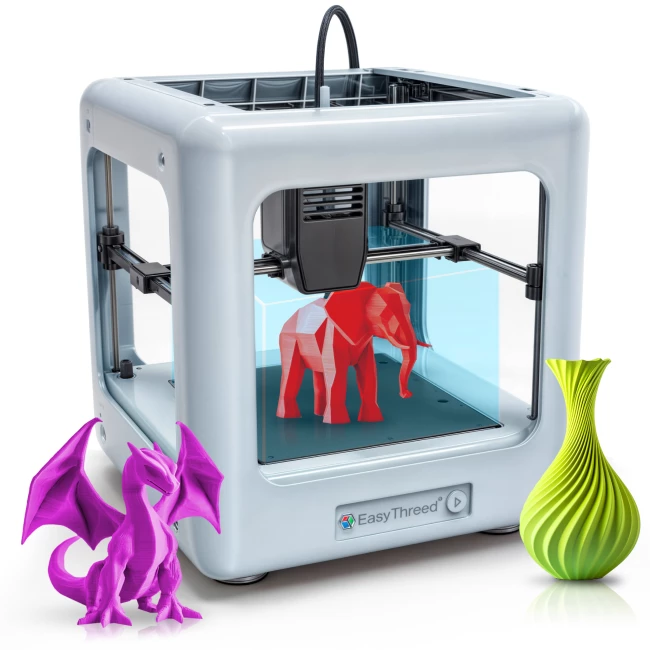
Photo: the school's 3D printer mid-print, with a finished part beside it
The idea
Everything you have made this year lives on a desk: a circuit, a program, a machine. A 3D printer makes the other half — the physical part that holds it all together. The bracket, the stand, the box, the label.
Designing one is easier than it sounds, because you never draw curves by hand. You stack and subtract simple shapes.
Millimetres, in three directions. That is the whole coordinate system.
New words
3D printerA machine that builds an object by melting plastic, one thin layer at a time.
ModelThe thing you draw on screen, before it is printed.
MillimetreThe unit. Ten millimetres is one centimetre. Everything here is in mm.
TinkercadThe free website you will design in. It runs in a browser.
HoleIn Tinkercad, a shape that removes material instead of adding it.
Do it — find your way round
- Open Tinkercad in a browser and sign in with the class code your teacher gives you.
- Make a new design. You get a flat blue workplane with a grid on it.
- Drag a box from the shapes list on the right onto the workplane.
- Click it. White handles appear. Drag one and watch the numbers change — those are millimetres.
- Type directly into the number boxes instead: 40 wide, 20 deep, 10 tall.
- Hold the right mouse button and drag to spin the view. Do this until you are comfortable.
📷
images/l1-e1-tinkercad-tour.png
Screenshot: Tinkercad with the workplane, the shapes list and the three number boxes each circled and named
💡 Tip
Typing the numbers beats dragging, every time. Dragging gets you 39.7 mm when you wanted 40, and you will not notice until it does not fit.
Do it — the subtracting trick
This is the one idea that makes everything else possible. A shape can be a hole, and holes cut into whatever they overlap.
- Put a cylinder on top of your box, overlapping it.
- With the cylinder selected, click Hole in the panel.
- Select both shapes — drag a box around them — and click Group.
- The cylinder is gone and there is a round hole where it was.
- Undo it. Do it again with the cylinder somewhere else. Then twice, for two holes.
📷
images/l1-e1-hole-group.png
Screenshot: three stages side by side — cylinder on the box, cylinder switched to Hole, and the result after Group
💡 Tip
Group is how everything joins in Tinkercad. Two solids grouped become one solid. A solid and a hole grouped become a solid with a hole in it. There is nothing else to learn.
Try it
- Make a box with a hole all the way through it.
- Make a hole that only goes halfway down.
- Build a set of steps out of three boxes.
- Make your initial out of boxes. Save it with your name in the title.
What you learned
- Everything is in millimetres, in three directions.
- Type numbers rather than dragging.
- Complicated shapes are simple shapes stacked and subtracted.
- Group joins. A shape marked Hole removes instead of adds.
Challenge optional — only if you finish early
- Design a second object that fits the first one you made.
- Work out how much plastic yours will use before it is printed.