Unit C · Circuits and sensing
What we are making: the same blink, but on a light you wired up yourself on the breadboard — not the one the factory put there.
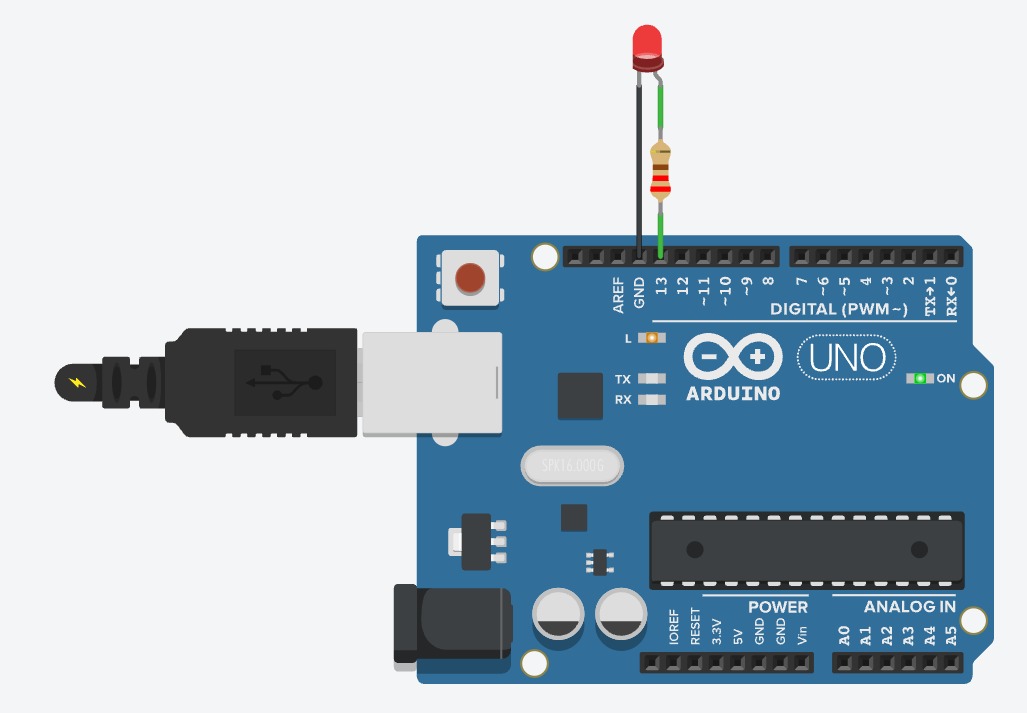
Electricity has to go round in a circle. It leaves the board through a pin, travels through whatever you have wired up, and comes back into the board through the hole marked GND. If the circle is broken anywhere, nothing happens at all.
An LED only works one way round: the long leg is positive and faces the pin. Backwards, it simply does not light. It is not broken.
A pin pushes out more than an LED can survive. The resistor narrows the flow, like a nozzle on a hosepipe. Without one the LED glows brilliantly for a second, then dies for good.
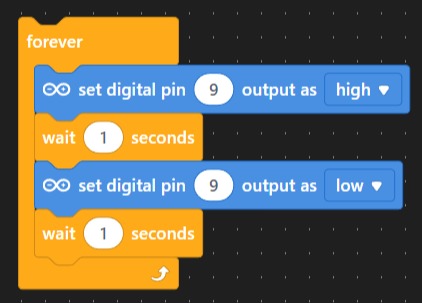
Last session's program with one change: pin 13 becomes pin 9.

What should happen: your LED blinks once a second. The board's own one stays dark — nothing is talking to pin 13 any more.
Almost nobody gets this first time. Finding the fault is the skill.
| What you see | Why | What to do |
|---|---|---|
| Nothing lights at all | The LED is in backwards. This is the most common fault by a long way. | Pull the LED out, turn it round, push it back in. Long leg in column 10. |
| Still nothing | A leg is in the wrong column, so the circle is broken. | Follow the path with your finger: pin 9 → resistor → LED → GND. Say each hole out loud. |
| Still nothing, and the wiring looks right | The jumper wire is not pushed all the way in. | Press each wire end down firmly. They should not wobble. |
| It lights but never blinks | It is wired to 5V instead of pin 9. | 5V is always on. Move the wire to pin 9, which your program can switch. |
| It lit once, very brightly, then went dark forever | The resistor was missing or in the wrong column. The LED is gone. | Get a new LED from the spares tray. Tell your teacher — nobody is in trouble for this. |
In this session